Contents
The ten steps, start to finishHow much time and money each part takesWhat you can skip and what you cannotA checklist to run through before your first real tradeWhat a realistic first month looks like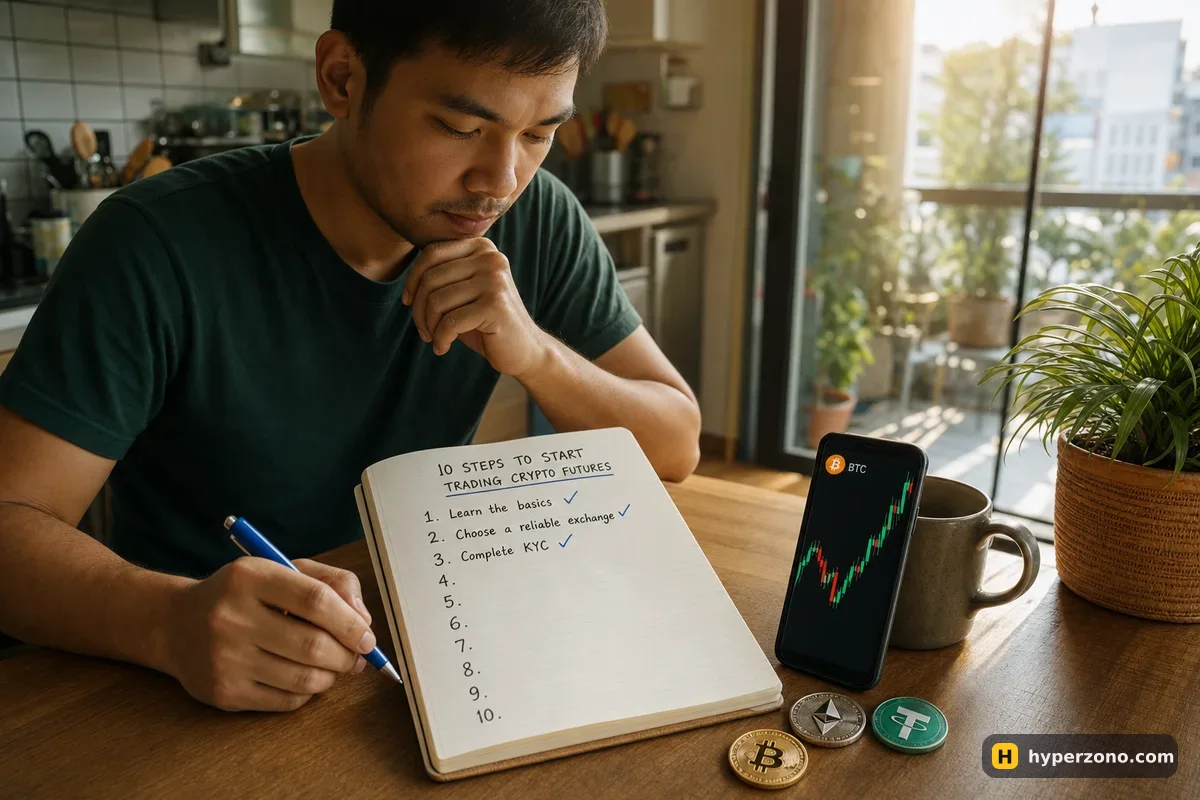
The ten steps, start to finish
Do them in order — the later steps make no sense until the earlier ones are done, and the people who jump straight to step nine are the ones who come back angry. Most of these steps take a few minutes each. The two slow ones are learning the basics (an hour or two) and demo practice (a few short evenings), which is why a week is a comfortable pace.
1. Learn what you are actually trading
Give it an hour, not a month. A futures contract lets you trade the price of a coin without owning the coin — you make or lose money on the price difference. Going long means you profit if the price rises, short means you profit if it falls. Leverage lets you open a bigger trade with the same money, so both the profit and the loss grow at the same speed. Everything else you will pick up as you go.
2. Check that futures are available where you live
This is the step people skip and regret. Exchanges restrict whole countries, and some of them offer spot trading but not futures in your region — our page on where futures exchanges are available explains how to check. If your country is restricted on that exchange, it is closed to you; don't look for ways around it, look for a venue that serves you.
3. Choose one exchange and stop comparing
One account is enough for the first few months. Binance, Bybit, OKX and Gate are the usual starting points — which exchange suits a beginner goes through the differences, but the honest answer is that getting started on one of them matters more than which one. If you found some other platform through an advert, check it carefully before you send money anywhere.
4. Register and pass verification
Email, password, then identity verification with a document and a selfie. Approval can be quick, or it can take longer if the exchange has a backlog — the app shows the status. You can sign up on Bybit and see during sign-up whether your country is accepted; why this check exists is explained in do I need KYC.
5. Lock the account down
Before any money goes in: two-factor authentication on a separate app, a password you use nowhere else, and the setting that only lets money leave to wallet addresses you added yourself, if your exchange has it. That last one means a stranger with your password still cannot send your balance to their own wallet. Five minutes of work, described properly in securing your exchange account.
6. Get some USDT
Futures positions are funded in USDT, a token that holds roughly one dollar of value. Depending on where you live you can buy it with a card, a bank transfer, or from another person through the exchange's P2P board — the app shows which methods work for your country.
7. Move the money to your futures wallet
Your USDT lands in the spot wallet first, and futures trades draw from a separate futures balance. Moving money between them is an internal transfer inside your own account — a couple of taps in the wallet section of the app. Move only part of your money across, not all of it.
8. Spend a few evenings in demo mode
Demo uses play money on real prices, so you can open, close and misclick for free. Fifteen minutes an evening for a week is enough to stop fumbling the order window, and you can open a Bybit account and trade in demo before depositing anything — the steps are in how to open a Bybit demo account. Demo won't tell you how you'll behave with your own money at stake, but it will teach you the buttons.
9. Make one small real trade
Choose the leverage deliberately instead of accepting whatever the app suggests, work out how big the position should be before you tap anything, and put a stop-loss in the order rather than after the price moves against you. One coin, one direction, one reason you can say out loud.
10. Write down what happened
Date, coin, direction, entry, stop, result, and one line on why you took the trade. After twenty trades that notebook tells you more about your trading than any course, because it shows your own habits instead of someone else's.
How much time and money each part takes
None of this is expensive, and most of it is free. The numbers below are illustrative rather than exact — verification times and payment methods differ a lot by country.
| Part of the route | Time | Money |
|---|---|---|
| Learning the basics (steps 1–2) | 1–2 hours | Free |
| Sign-up and verification (3–5) | 15 minutes, plus waiting for approval | Free |
| Buying USDT and funding (6–7) | 10–40 minutes | Whatever you deposit; 20–50 USDT is plenty |
| Demo practice (8) | 15 minutes a day for about a week | Free |
| First real trade (9–10) | Minutes to a few hours | Risk about 1–2 USDT of a 50 USDT balance |
What you can skip and what you cannot
You can skip indicators, chart patterns, signal groups on Telegram and the urge to open accounts on four exchanges at once. Demo is optional too — if you'd rather learn live, that's fine, as long as the first trade is so small that a mistake costs about a dollar. Most people still find a couple of demo evenings cheaper than a couple of misclicks.
You cannot skip the availability check, the security setup or the stop-loss on that first trade. A trade without a planned exit is the single most common way beginners turn a small loss into an empty account. If the idea of losing the whole balance is new to you, read can you lose your whole deposit before you fund anything.
Decide where you get out before you get in. Pick the price where your idea is clearly wrong, put the stop-loss there, and size the trade so that if the stop is hit you lose one or two dollars — an amount that doesn't change your week. That one habit turns futures from a guess into something you can practise and improve.
A checklist to run through before your first real trade
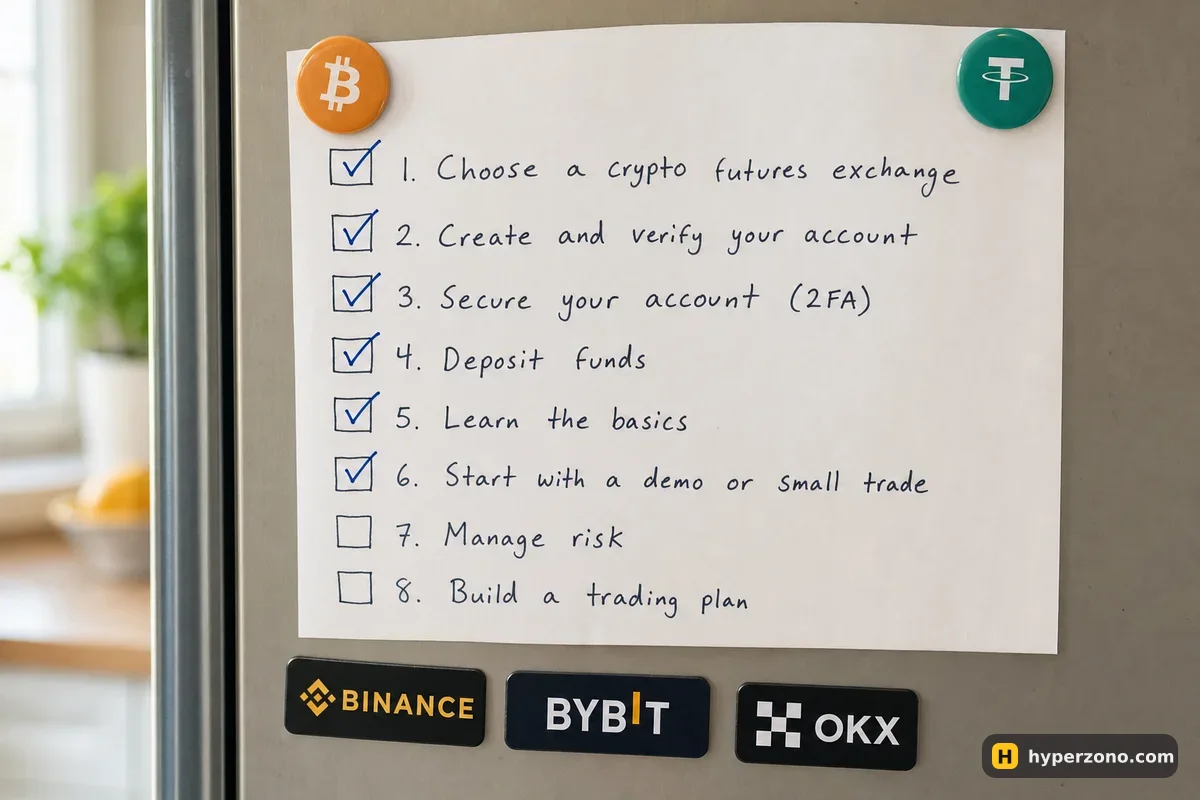
- Futures are available to me on this exchange — I checked during sign-up, not from a forum post.
- Verification is complete and two-factor authentication is on.
- The money on the futures balance is money I can afford to lose.
- I know which coin I am trading and in which direction, and why.
- I chose the leverage deliberately instead of leaving whatever the app suggested.
- My position size is calculated, not guessed.
- The stop-loss price is written down and entered in the order.
- I know roughly what the trade costs me in fees, and in funding if I hold it for hours.
What a realistic first month looks like
Say you deposit 50 USDT. You trade small, you win some and lose some, and after thirty days you are a few dollars up or a few dollars down — that is a normal, healthy result, and it means the route worked. The goal of month one is not profit; it is finishing thirty days with your balance intact and a notebook full of real observations.
If you came here hoping for a faster answer, the honest version is that the size of your account sets the size of your result: a 50 USDT balance moves in cents, not in hundreds of dollars. Anyone promising otherwise is selling you something.
How much money do I need to start trading futures?
Less than most people expect — many beginners start with 20–50 USDT. On many contracts the exchange minimum is only a few dollars of position size, and the exact minimum is shown in the contract details in the app. The real limit is not the exchange minimum but how much you are willing to lose on one trade.
Can I trade futures without verifying my identity?
On the big centralised exchanges, no — futures trading sits behind identity verification, so assume you will need a document and a selfie. On-chain venues work differently, with a wallet instead of an account. Either way, plan for the check rather than hoping to avoid it.
Do I need to own bitcoin before trading bitcoin futures?
No. You hold USDT, and the contract simply tracks the bitcoin price. You can also sell the contract first and buy it back lower, which is how people make money when the price falls.
How long until I can make my first real trade?
If verification goes through quickly and your payment method works, you could be ready the same evening. A calmer pace is one week: a couple of hours on the basics, one evening on the account and funding, and a few short demo sessions before you risk anything real.
Is demo trading enough practice before real money?
It teaches you the buttons, the order window and what a stop-loss actually does, which is genuinely useful. What it cannot teach you is how you feel when your own 50 USDT is moving, so treat your first few real trades as part of the learning and keep them tiny.
How much time per day does this take once I have started?
That depends on your style. Some people check the chart twice a day and hold trades for days; others sit with a short timeframe for an hour in the evening. Start with whatever fits around your job and your sleep, because a tired decision costs more than a missed one.